


Step into the world of floating floors, where beautiful timber flooring is now easier, more flexible, and accessible than ever. Say goodbye to the old days of painstakingly nailing or gluing down each plank—floating floors have changed the game, making stylish and affordable flooring achievable for everyone. Whether you're a DIY veteran or a first-time homeowner, we’ll walk you through what floating floors are and guide you with straightforward steps to install them with confidence.

What Is Floating Flooring?
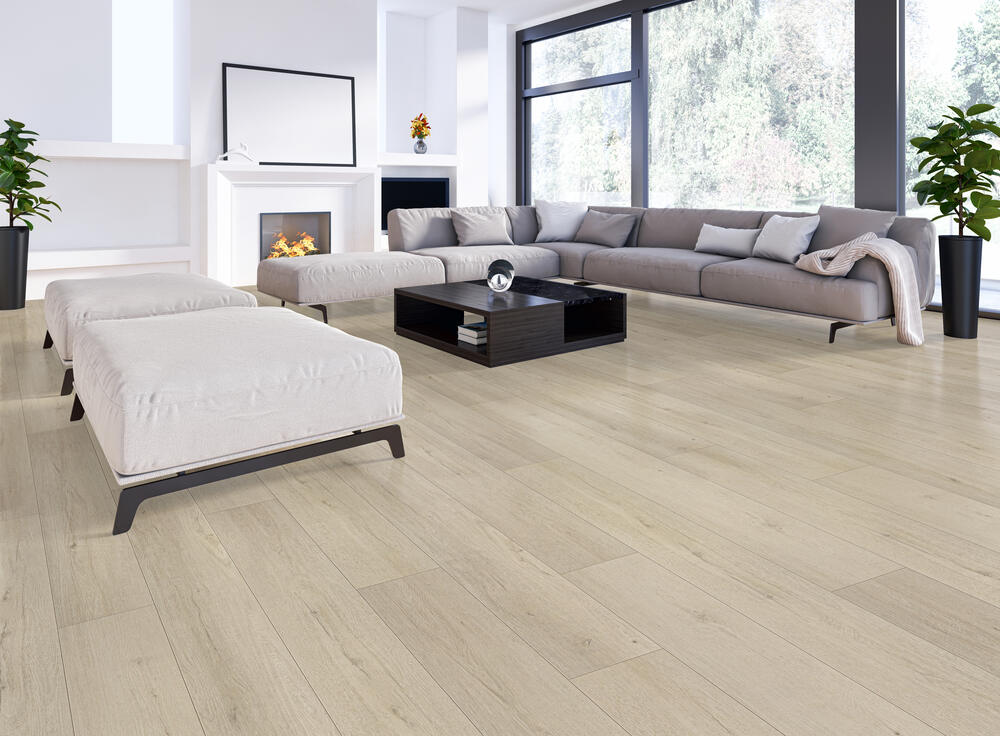
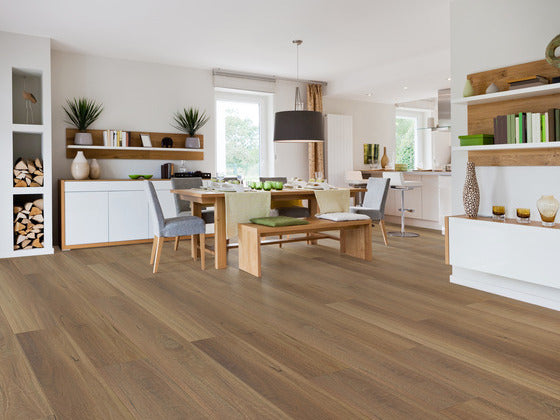
Unlike traditional flooring methods that rely on permanent adhesion to the subfloor, floating floors "float" above it. This design offers flexibility and makes installation quicker and less invasive. With a suitable underlay, floating floors provide added benefits such as sound insulation and cushioning underfoot, making them an excellent choice for various spaces.
Click System: Modern, DIY-Friendly, and Moisture-Resistant
The click system is the go-to option for many DIY enthusiasts. This modern locking mechanism allows planks to seamlessly "click" together without the need for glue. The result? A straightforward installation process that doesn’t require professional tools or expertise.
Another significant advantage of the click system is its resilience in environments where moisture might be a concern. The tight locking mechanism helps reduce gaps that could allow water to seep through, making it ideal for kitchens, basements, or other areas prone to dampness.
Tongue-and-Groove System: Traditional and Dependable
The tongue-and-groove system, on the other hand, is a time-tested method that involves applying glue to bond planks together at their joints. This system creates a solid, durable connection between the planks, ensuring stability over time.
While the tongue-and-groove system is slightly more labor-intensive and less suited to DIY projects compared to the click system, it’s a reliable choice for those who prefer a traditional approach or who don’t mind a bit of extra effort during installation.

Floating flooring can come in a few different forms and each one has pros and cons that separate each other. The types of floating floors that you can find are:
In general, floating floors are:
- Easy to install and repair
- Sound absorbing
- Comfortable to walk on
- Affordable and cost-effective
Factors such as durability, feel, cost and look are dependent on the type of flooring that you go with, but also the quality of flooring.

A Simplified Step-By-Step Installation Guide
Step 1: Preparation of the subfloor
- Levelling the floor, ensuring that for every lineal metre, there is no more than 2 mm in deviation. This is important to keep the floor from making squeaking noises.
- General cleaning of the floor.
Step 2: Underlay installation
- Lay down the underlay on top of your newly cleaned subfloor.
- It is recommended that you use an ACOUSTIC underlay to reduce noise.
Step 3: Floor installation
- Click together the planks by sliding the joints into each other at a 30-degree angle. No glue is required whilst using a click-system flooring.
Things to note (step 3):
- Leave an 8-10 mm expansion gap around the perimeters of your room.
- Install in the direction that is longest-wise with your entire house.
- Stagger the boards when installing to ensure correct locking between planks.
Step 4: Finishing off
- Install skirting or trims wherever needed.
- Touch-up with paint after completion.
To wrap up this general installation guide, always remember to follow the manufacturer's recommendations, as they may have specific requirements for their product. This guide is meant to provide a basic understanding of floating flooring and help you get started.